Ceramic art creation is a dialogue between clay and craftsmanship. Every step of the transformation from raw clay into exquisite works embodies the wisdom of artists. Here are the details of key processes from kneading to molding.

I. Clay Kneading : Infusing Life into the Clay
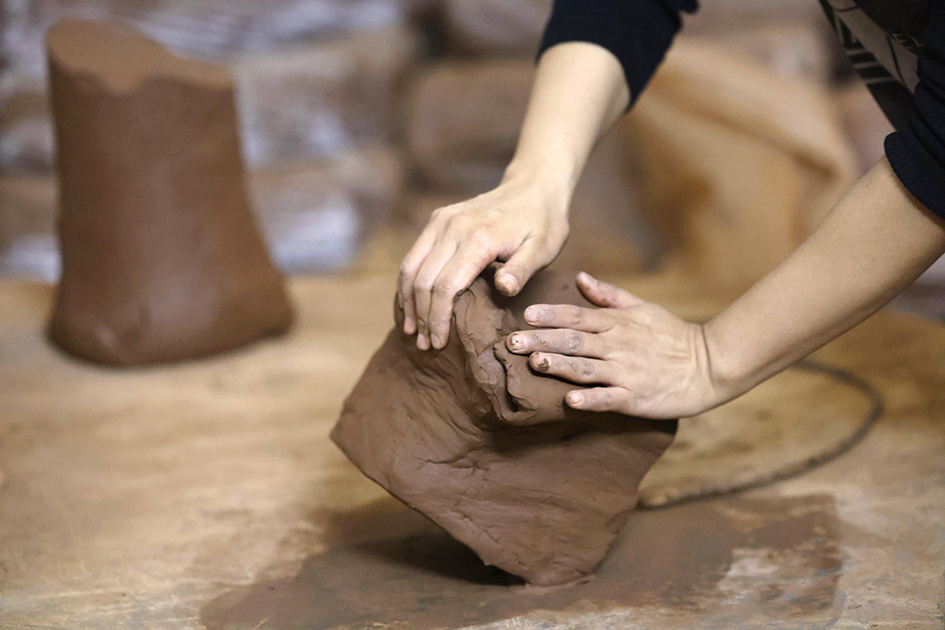
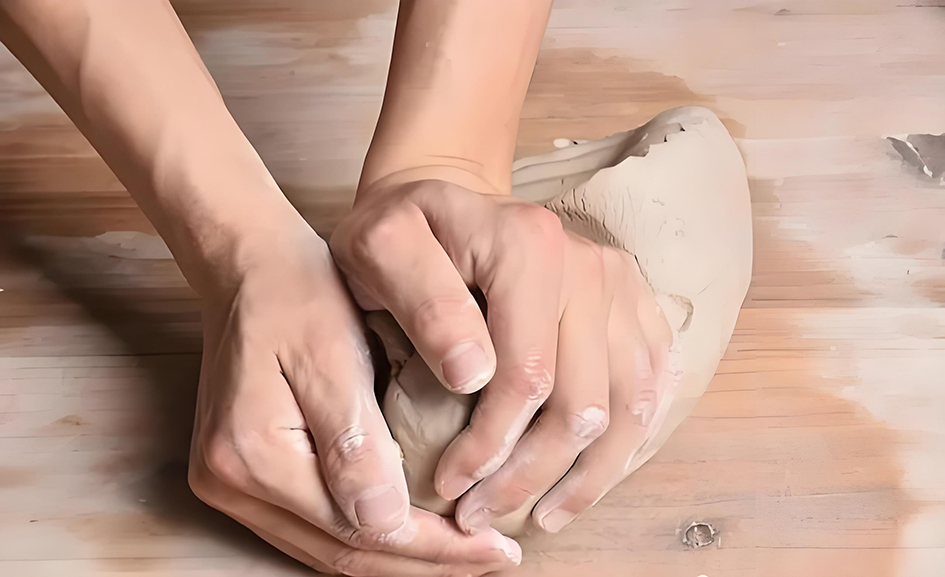
As the start of the creation, kneading aims to expel air from the clay, balance its moisture and prevent cracking during firing. Common methods include the spiral kneading and the chrysanthemum kneading. For the spiral method, the artist needs to fold the clay block repeatedly and squeeze it in a spiral direction, which is ideal for removing air bubbles. As for the chrysanthemum method, the artist needs to create a hole in the center and squeeze outward in order to quickly adjust clay with uneven hardness. Kneading should be continued until the clay surface is smooth and free of pores with a fine and crack-free cross-section and a moderate firmness.

II.Molding: Giving Shape to the Clay
1. Wheel Throwing
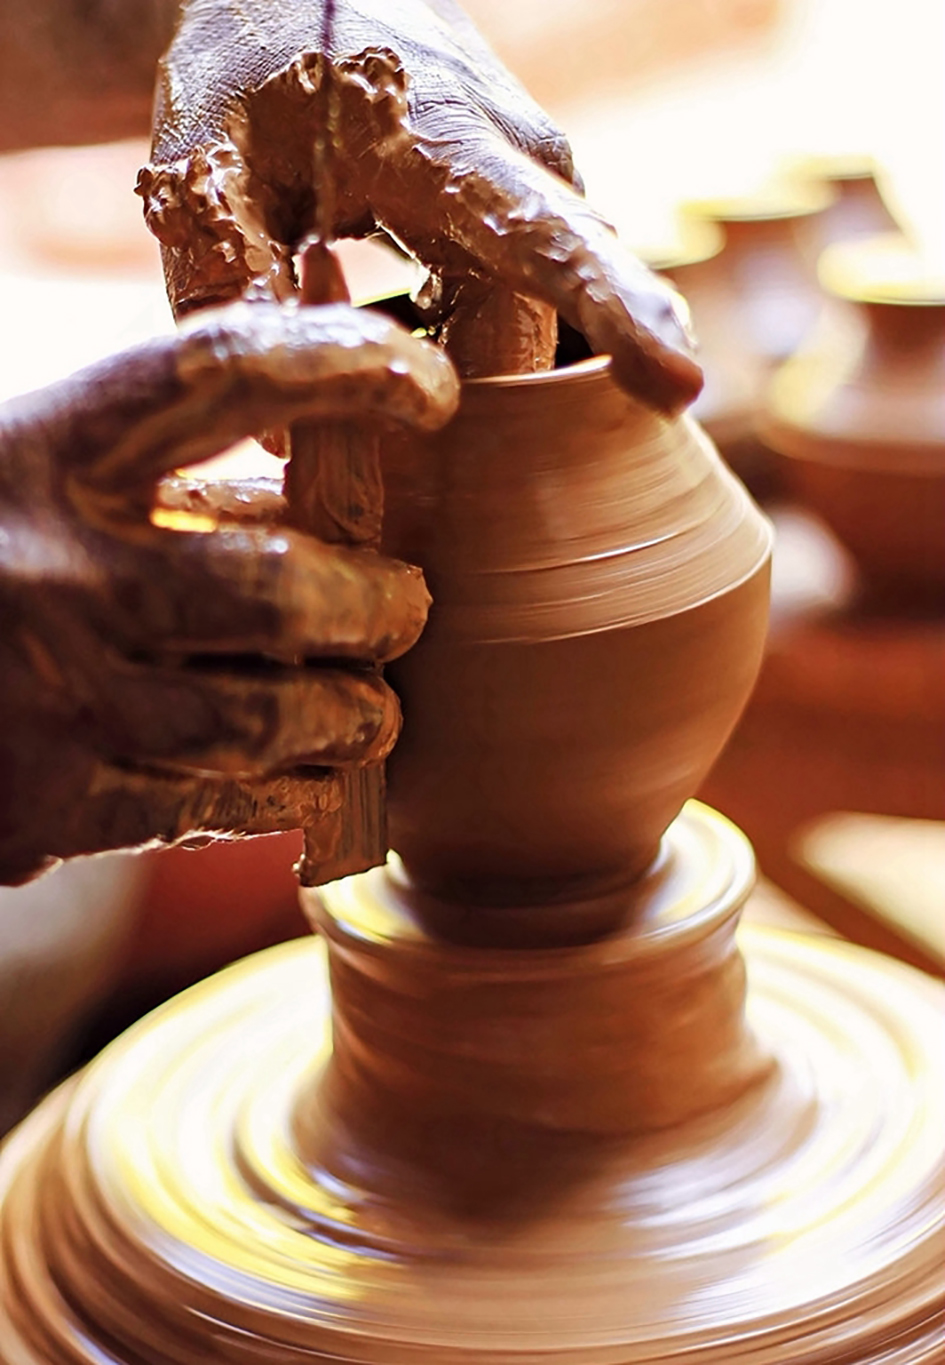
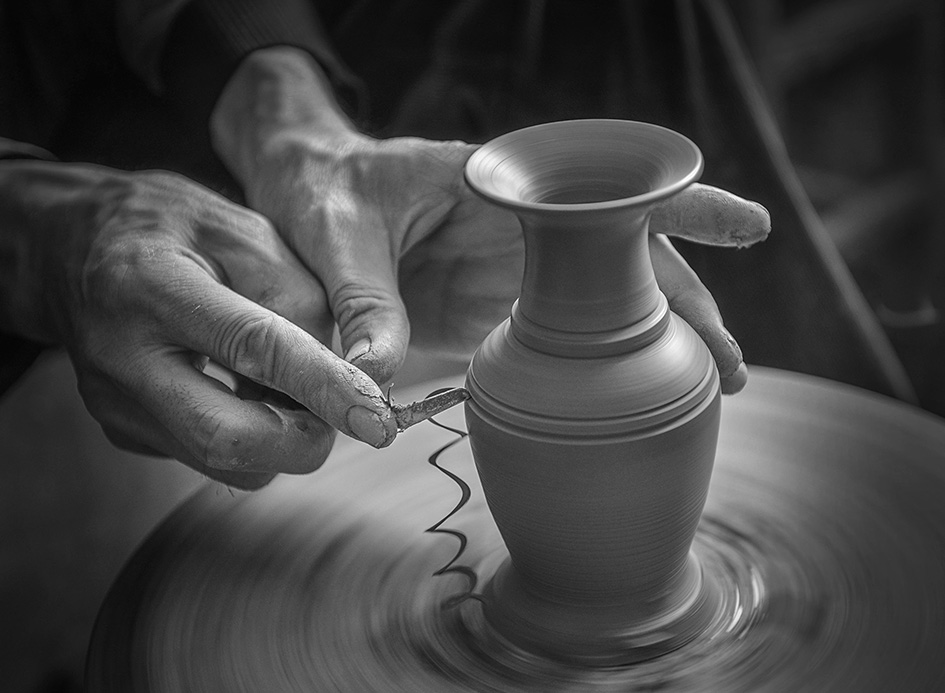
Shape the clay by using the centrifugal force of a potter's wheel. Firstly, forcefully throw the kneaded clay onto the wheel's center and compact it. Next, adjust speed and pressure with both hands. Stabilize the clay column with the left hand while the right hand can gradually squeezes inward and pulls upward to control the thickness and curvature of the green body. Keep hands moist to prevent sticking. After molding, let the piece dry to a semi-dry state before trimming to avoid collapse or deformation.
2. Coil Building
Roll the clay into uniform coils and stack them layer by layer. Apply slip to the surface of the base before starting the coil building process. Use tools to compact and smooth the joints of each coil to ensure tight adhesion. This technique is suitable for creating large or irregularly shaped works, such as vases and sculptures. Be sure to maintain consistent thickness of the coils to prevent the piece from collapsing due to an off-center weight.
3. Slab Building
Use a rolling pin to press the clay into thin sheets. Cut the sheets into the desired shapes and assemble them. The slabs should be semi-dry (moderately firm) to prevent deformation if too soft or difficulty in bending if too hard. Bevel the edges, apply slip, and compact the seams with tools. For making boxes or bowls, use molds to assist in shaping, and then trim the surface with a scraper to remove excess clay.
4. Mold Casting
Use plaster or silicone molds for mass production or creating complex shapes. First, apply a release agent (such as soapy water) to the inner walls of the mold. Fill the mold with clay and press it firmly to ensure all details are captured. After the clay has dried slightly, remove it from the mold and repair any edge marks. If the piece requires multiple parts to be joined, assemble them while the clay is still moist to prevent the joints from cracking.

III. Trimming and Drying: Success Depends on Details
After molding, trim the green body with a trimming knife to remove excess clay and adjust its curves and thickness. Then dry it in a cool and ventilated area to avoid direct sunlight or strong winds, which can prevent surface cracking. The drying process involves two stages. In the initial stage, the green body needs slight ventilation. In the second stage,it needs to be sealed to maintain moisture until it is completely dry (indicated by no further weight loss and a crisp sound when tapped) before firing.
From the steady rhythm of kneading to the dynamic art of molding, every step of ceramic creation is full of challenges and surprises. Mastering these basic processes opens the door to a dialogue with clay, allowing ordinary clay to come to life in your hands as a work of art.